Building a Zoom Mute Button
Instagram recently showed me an ad for a dedicated mute button for Zoom, which seemed a little too on the nose.
Yes, I’m on Zoom calls all day. Yes, I have a toddler that makes guest appearances on those calls. You win, Instagram ad algorithm, I want one.
But I have my reservations. This is an Instagram ad for a Kickstarter project. I don’t want to contribute to Facebook’s ad revenue by even clicking on it. There’s No Such Thing as a Free Watch by Jenny Odell sums up my perception of the quality of products in Instagram ads. And my Kickstarter Trivial Pursuit pie is pretty full.

I’ve backed a lot of projects on Kickstarter and sometimes the end result reminds me of the hamburger that Michael Douglas gets in Falling Down.
So let’s build one instead.
The first thing to consider is: What would be satisfying to press? If you’ve read my post about Yubikeys, you’ll know this is an important point for me.
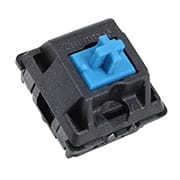
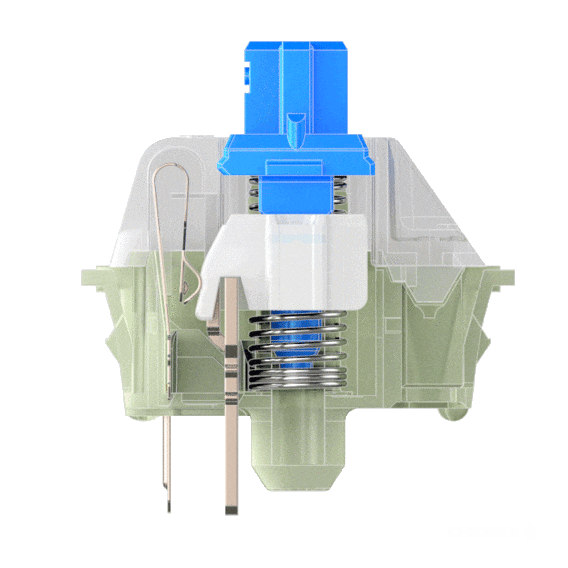
I use Cherry MX switches in my keyboards. There are three types of mechanical switches: linear, tactile, and clicky. Linear is your basic switch that goes up and down without much feedback. Tactile switches have a bump in the middle of travel that let you feel that your key press happened. And clicky switches have stronger tactile feedback AND make an audible click when you press them.
Normally you’d buy a switch tester and figure out which one feels right to you and also survey your co-workers to determine what kind of sound they’d let your keyboard produce before murdering you. But we’re in the middle of COVID - you don’t have any co-workers around you! Let’s go with a Cherry MX Blue switch that has satisfying tactile feedback but is also extremely loud. Cherry MX’s website calls this switch “Clicky and Noticeable” which is quite an understatement.
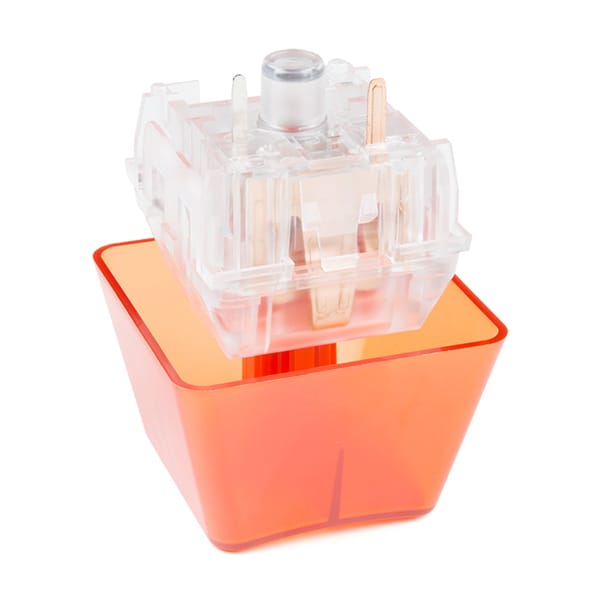
Looks nice, but I think we can do even better. If a Cherry MX Blue switch is satisfying to press, wouldn’t a comically large Cherry MX Blue switch be even more satisfying to press?
This is the Novelkeys Big Switch.
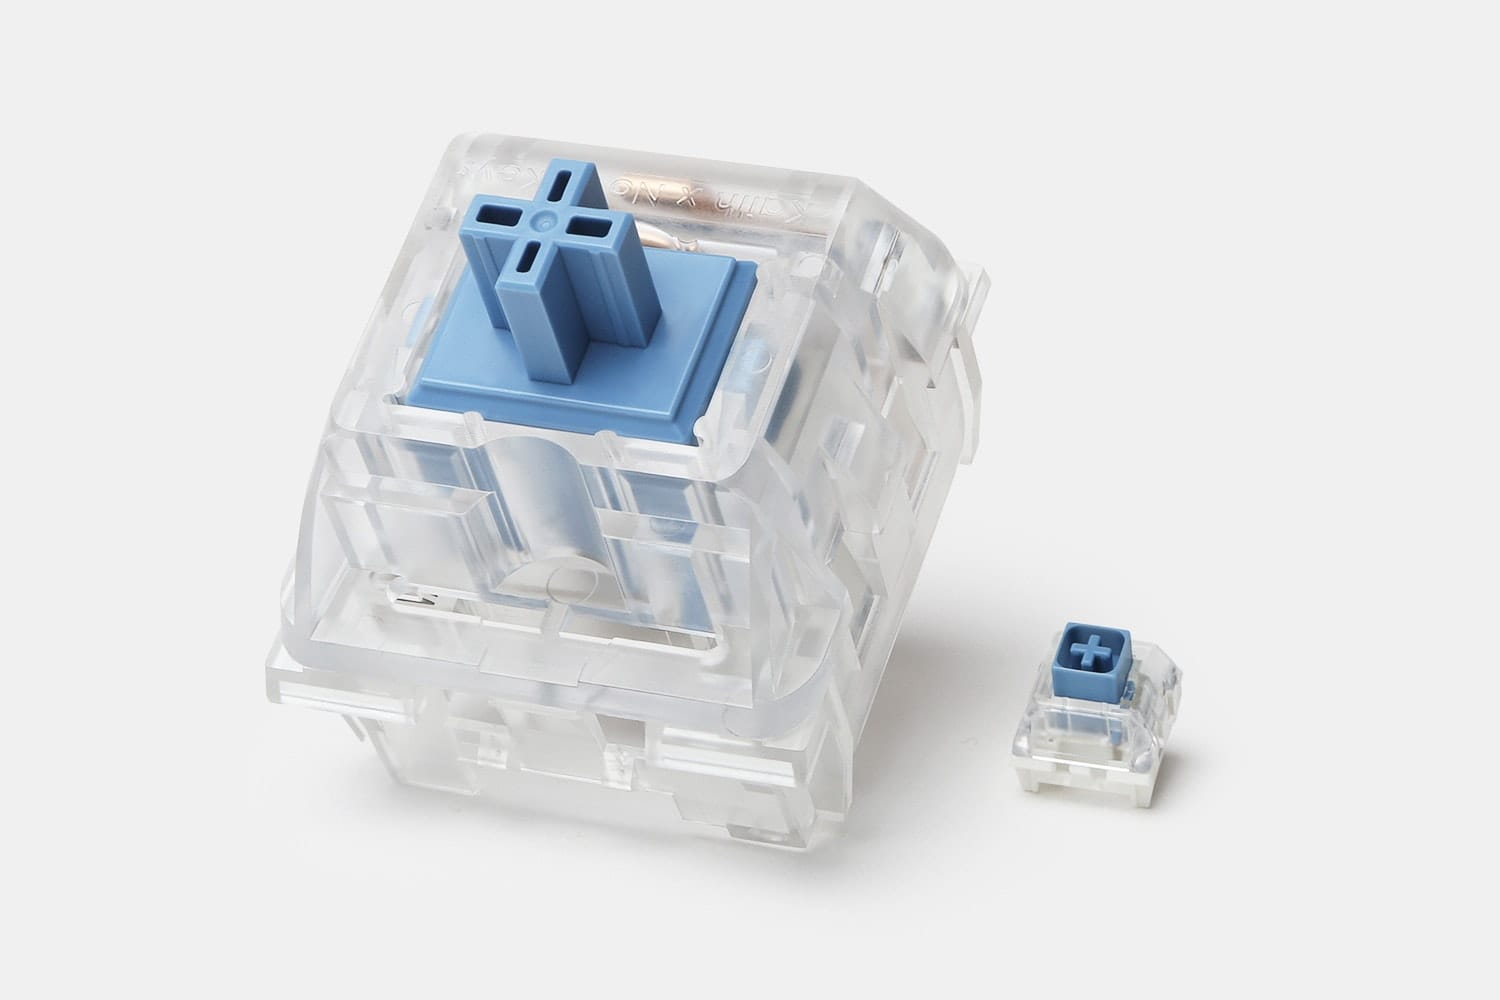
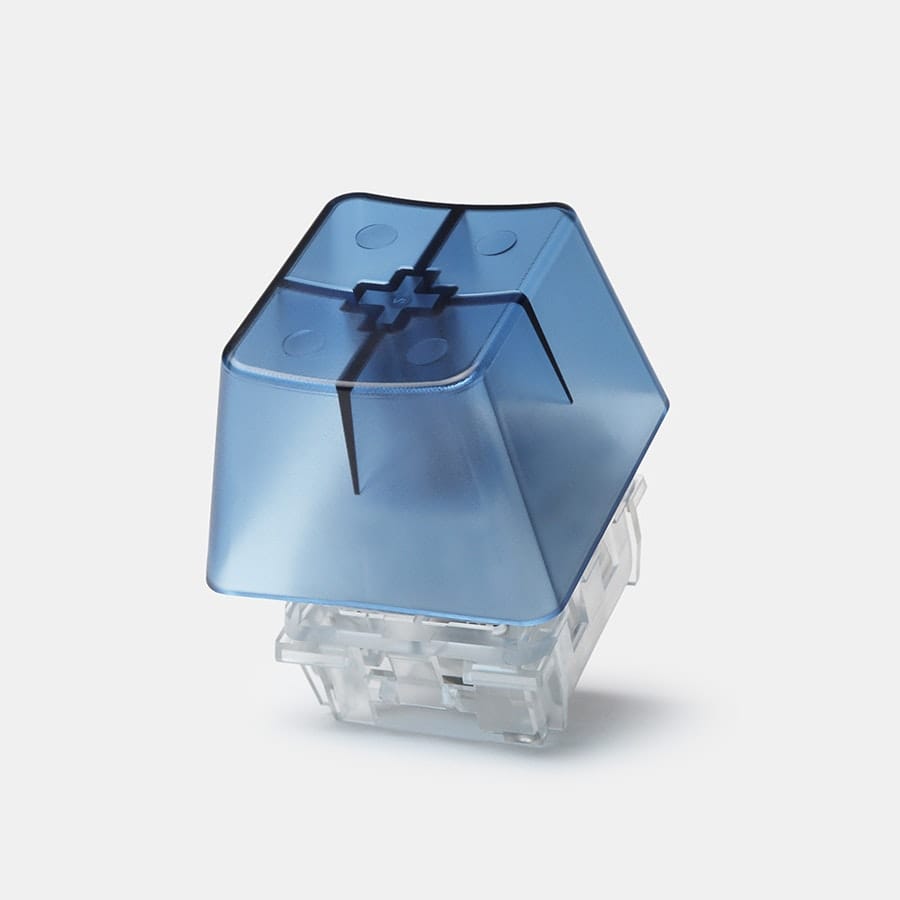
It’s 4 times bigger on each size and 64 times bigger in volume than a normal switch. It even comes with a giant keycap!
Unfortunately, the Big Switch doesn’t come with a case, so we’ll need to 3D print one. I found a nice looking case on Thingiverse: NovelKeys Big Switch Case. It’s always worth looking through the remixes in case anyone has improved upon the original design. In this case, there’s a remix that adds a housing for a Pro Micro and makes a tighter fit for the switch, so I printed that one.
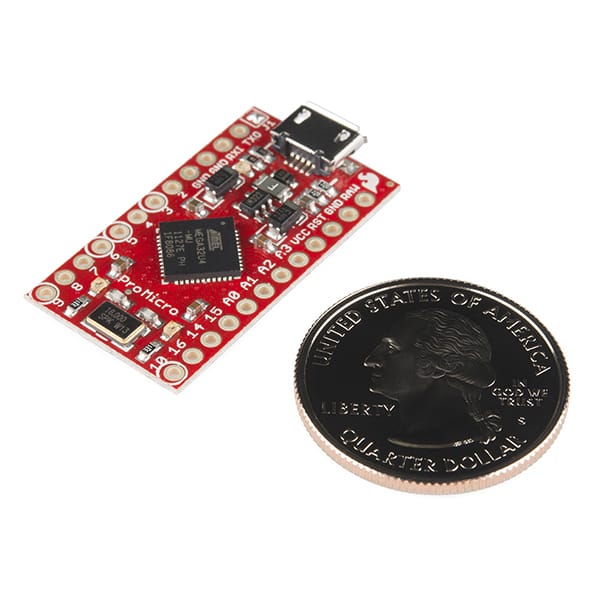
Now that we have the case, we’ll need a board to put into it and wire it up to the switch.
The Pro Micro has a ATmega32U4 chip that allows it to emulate a USB HID device, like a USB keyboard. It’s also tiny.
If you look at the bottom of the Big Switch, there are two metal contacts.
Inside the switch, pressing down on the key causes the circuit to be completed between these contacts.
If we look at the Pro Micro pinout:
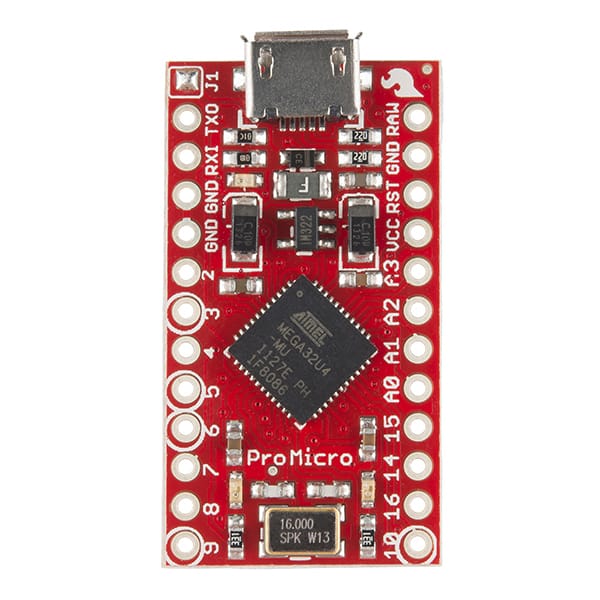
We can connect GND to one metal contact and Pin 2 to the other metal contact. Pin 2 is a digital I/O pin which will read HIGH when the key is pressed and LOW when it’s not.
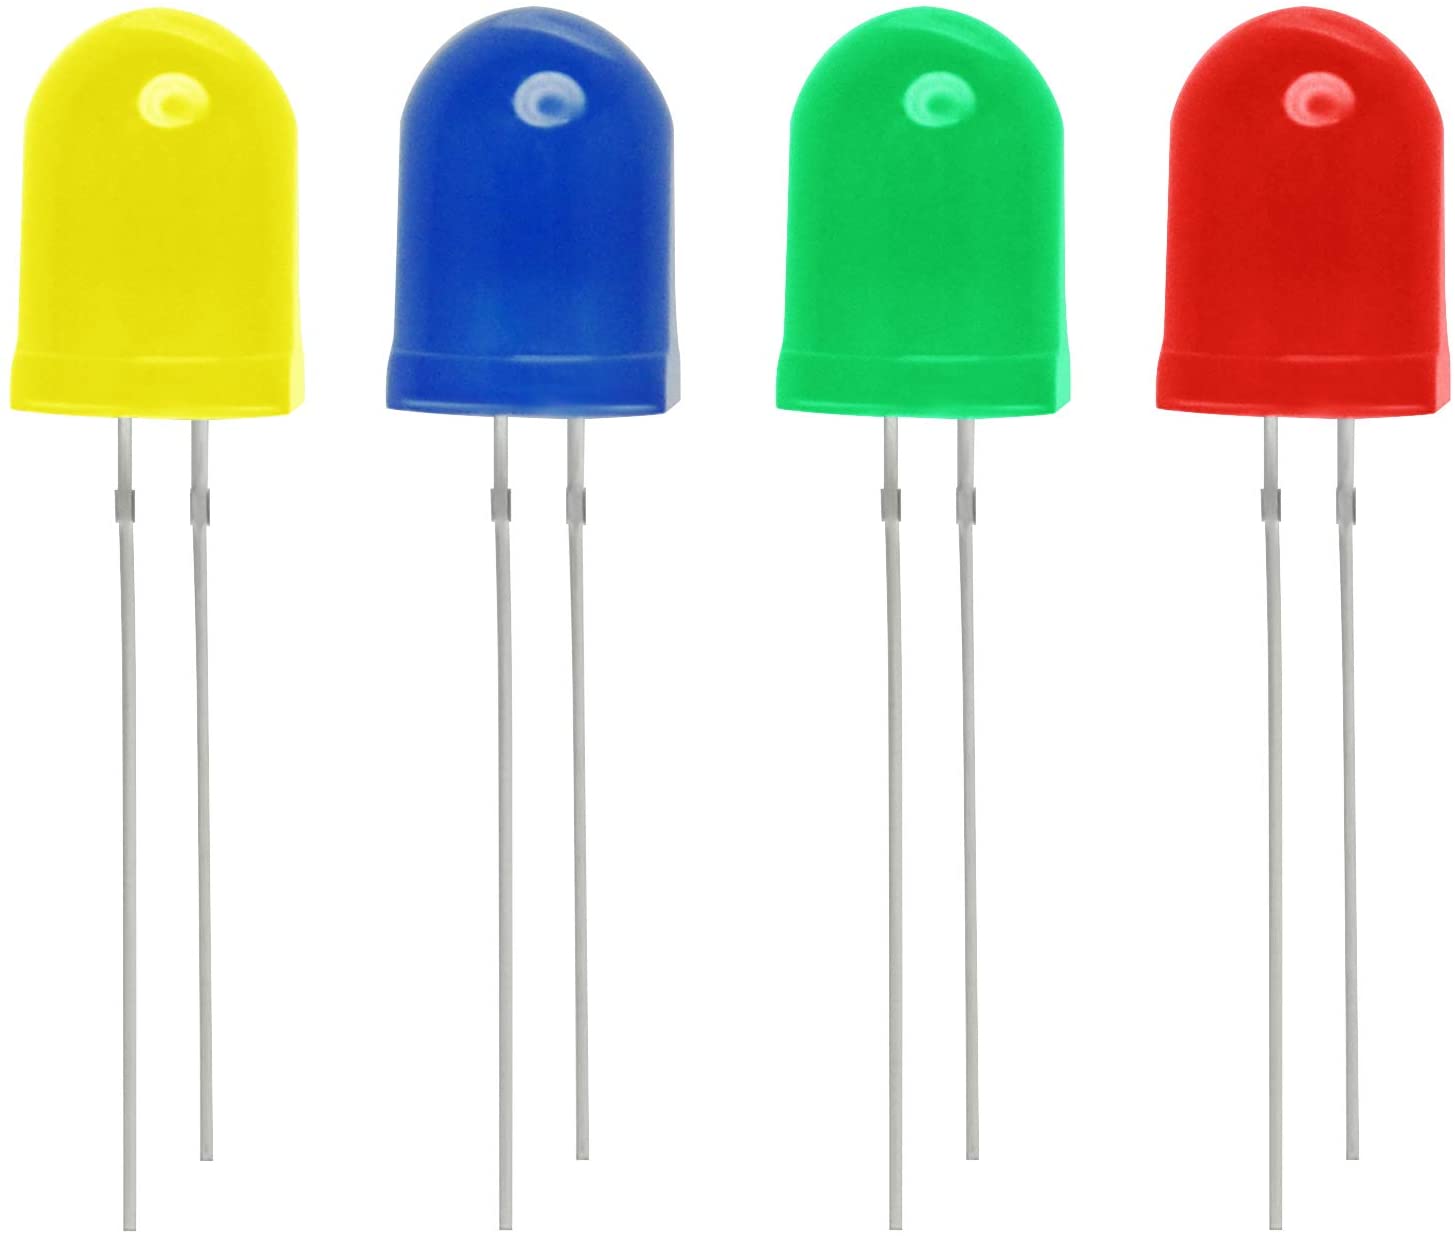
It would also be nice if we could have some sort of visual indicator of the mute status, so we can add an LED.
I ordered a 10mm LED:
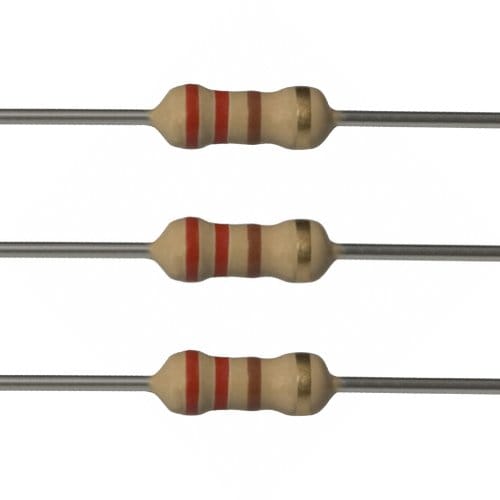
And a 220 Ohm resistor:
For LEDs, the longer leg connects to PWR and the shorter leg connects to GND. We’ll stick the resistor between the longer leg and a different pin to lower the amount of current - I chose Pin 9 at the bottom of the board. The shorter leg I wired up to GND. I found this page about LEDs and resistors to be helpful.
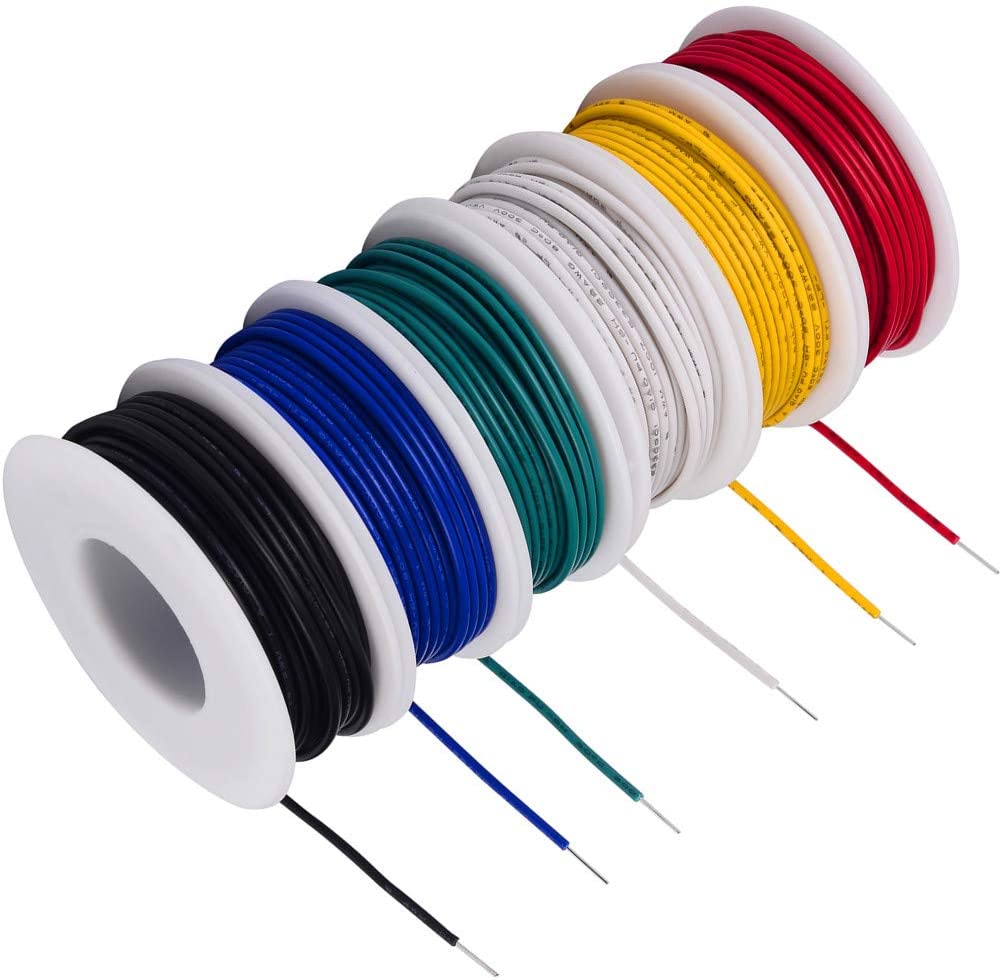
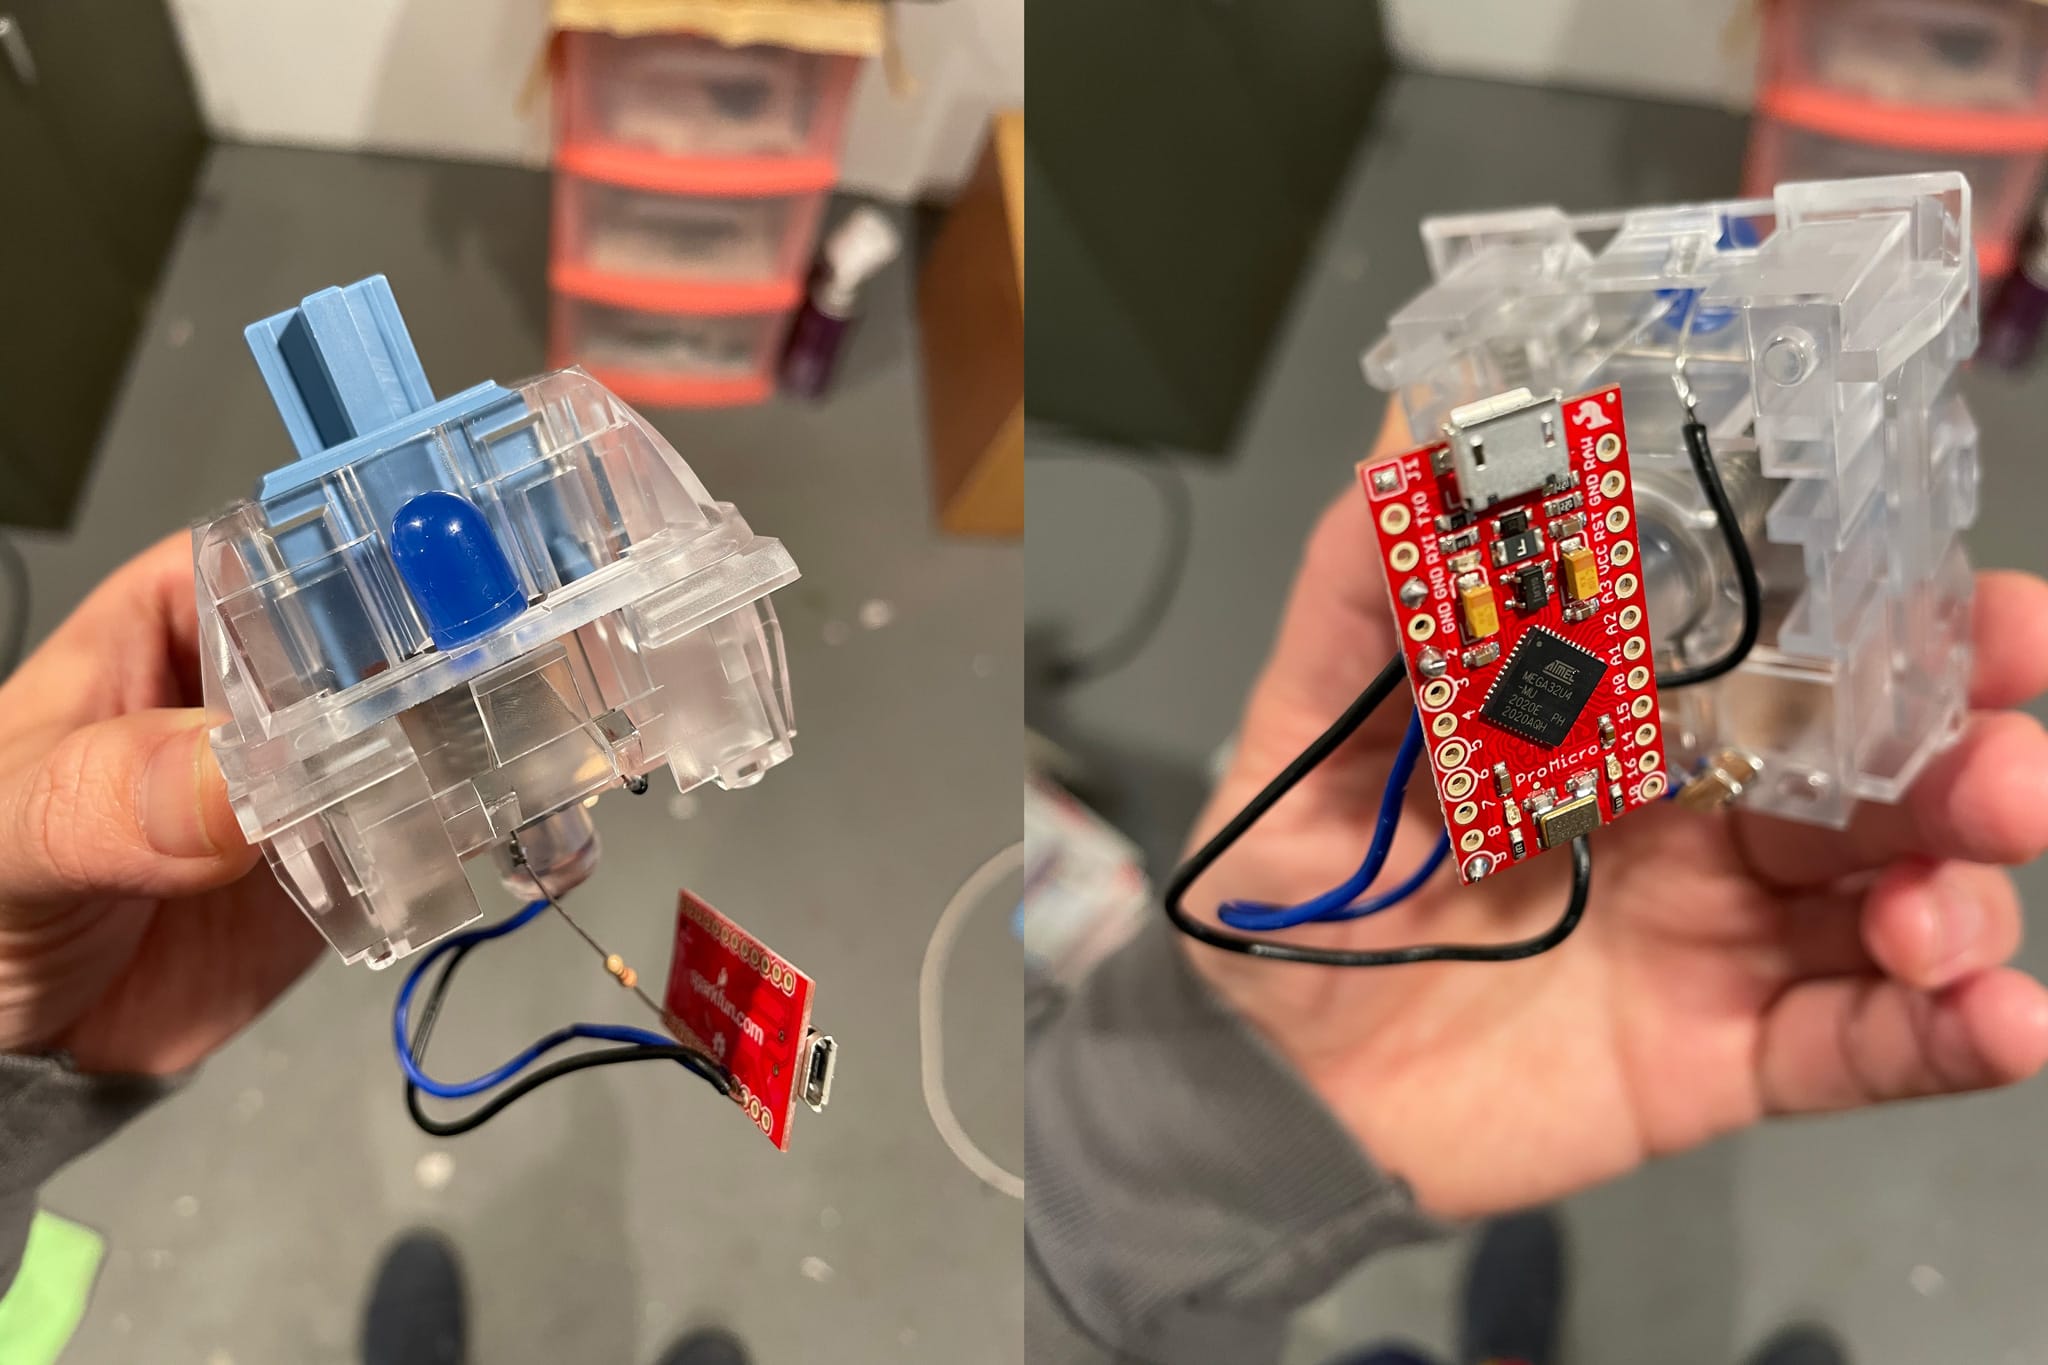
I soldered this 20 AWG wire between the board and the switch:
which resulted in this mess:
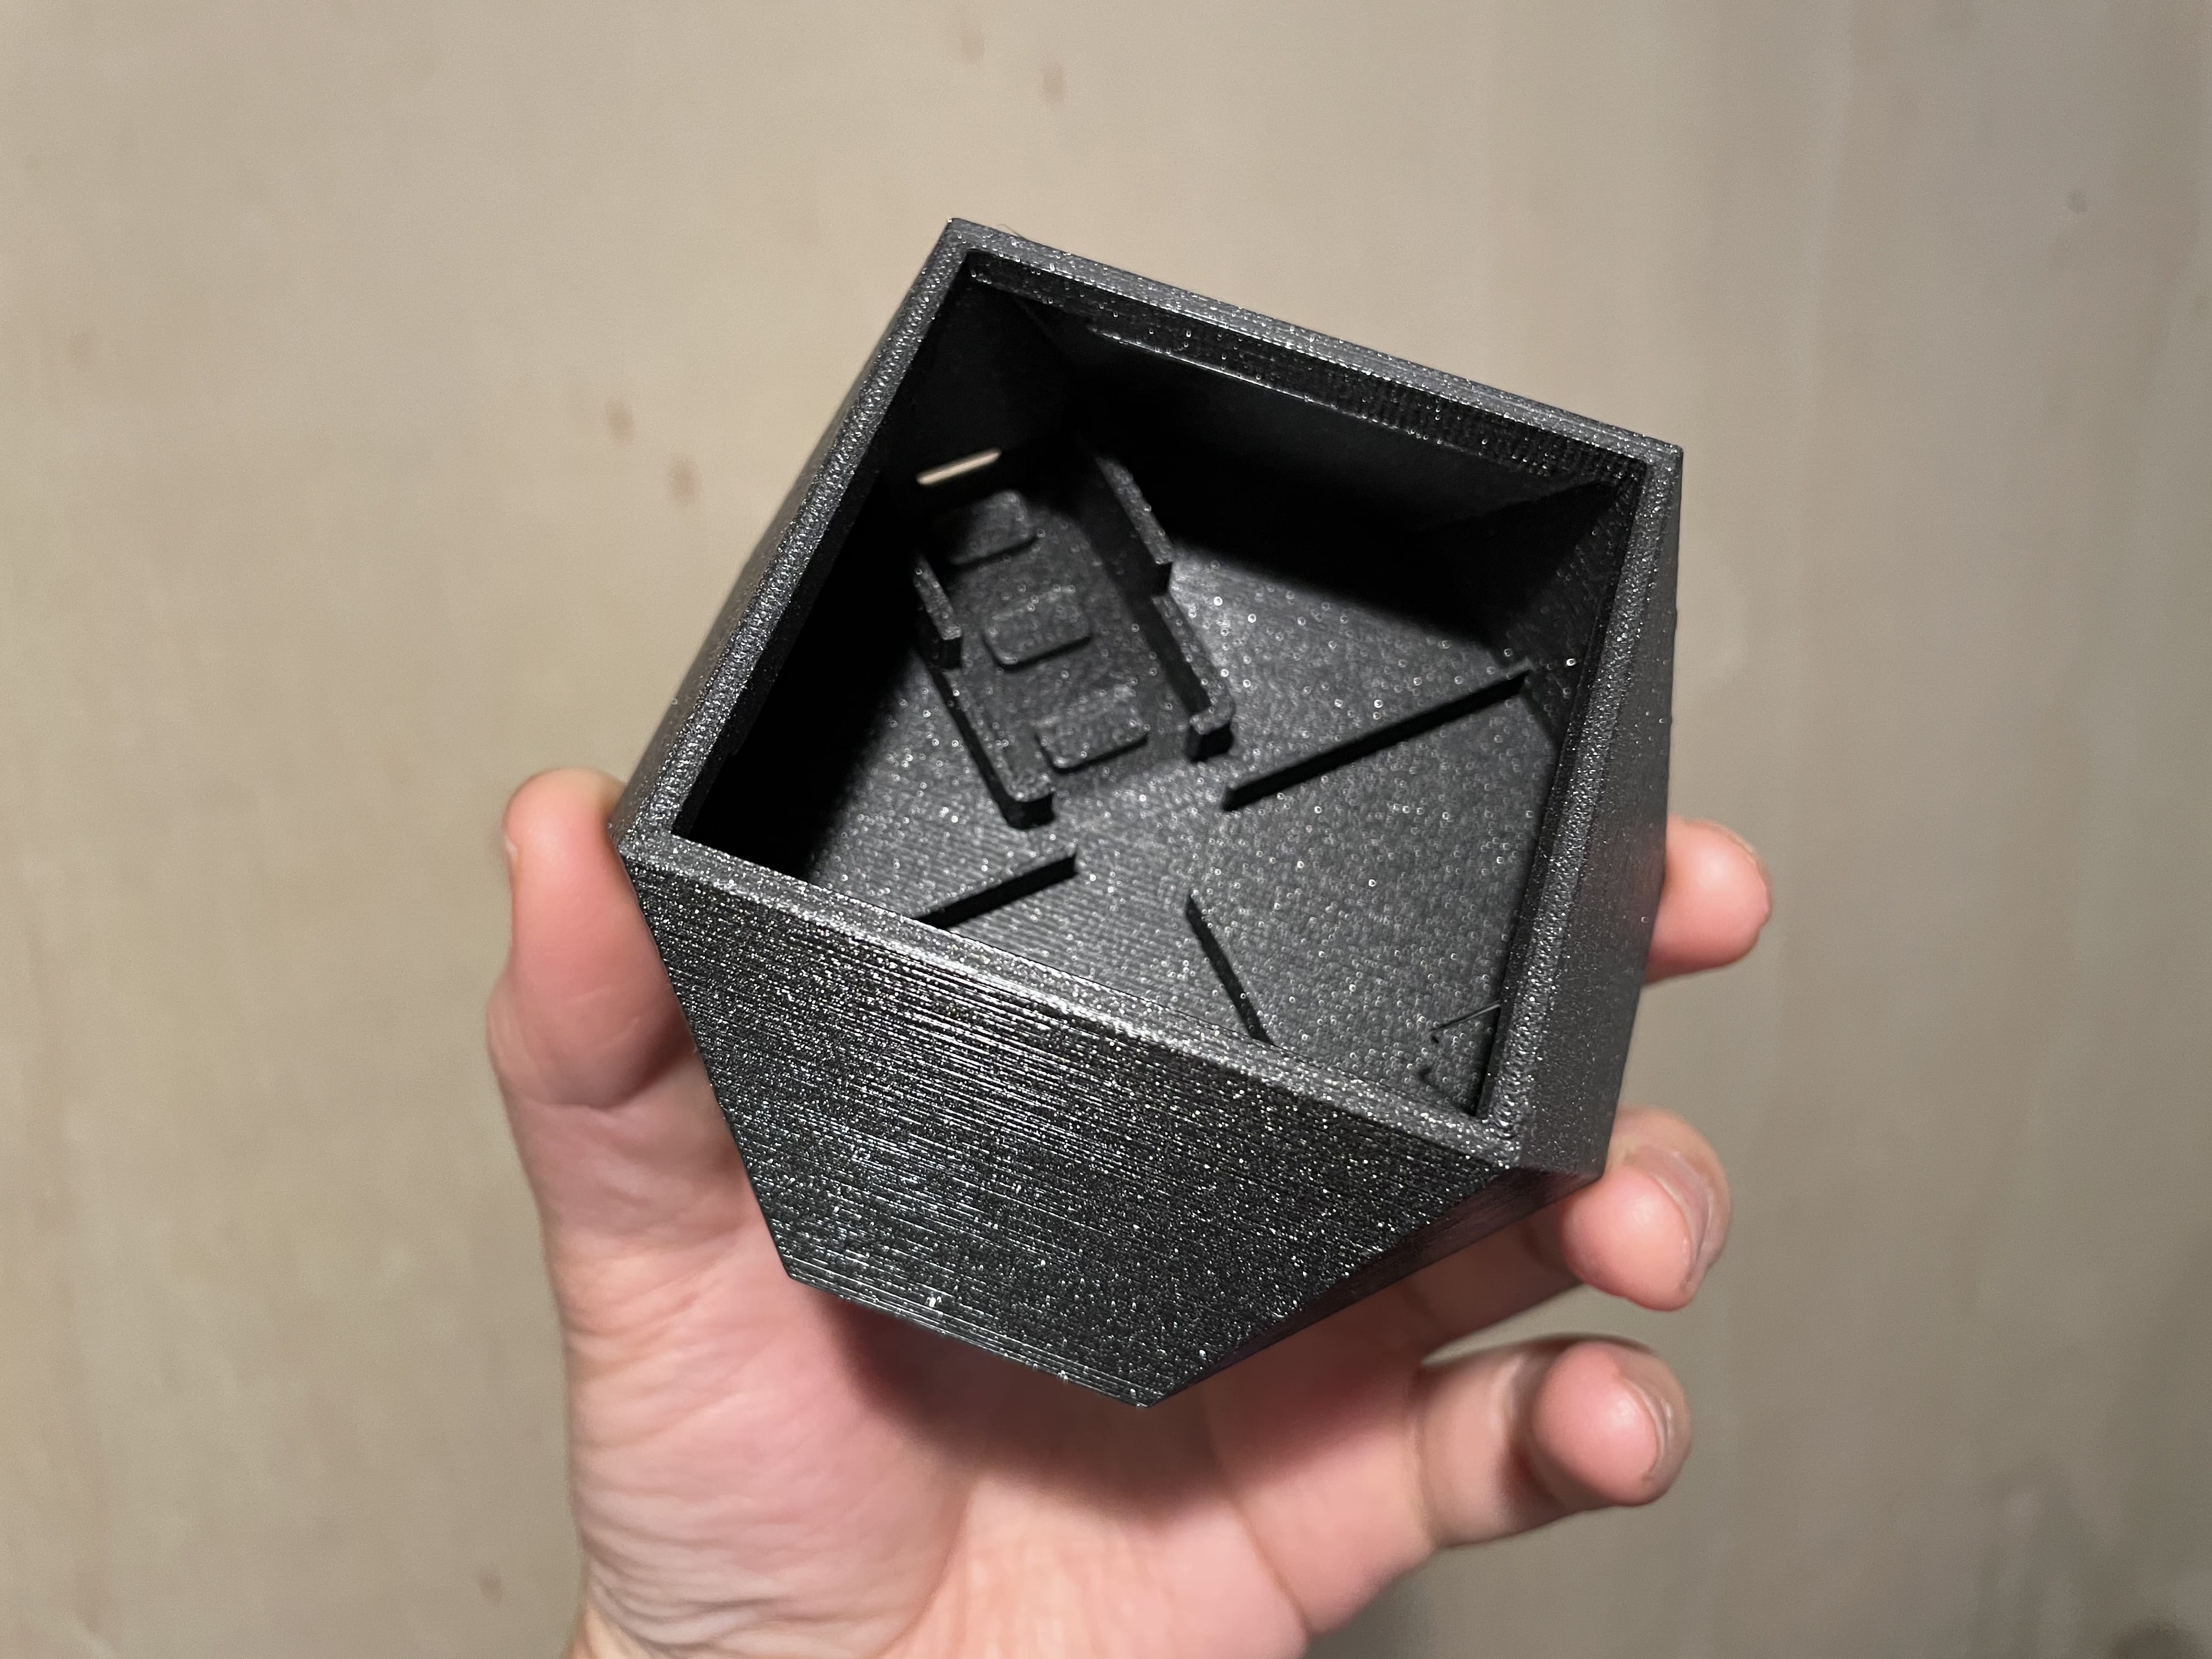
that we just jam into our 3D printed case:
Now we get to write some software, the spiritual opposite of being on a Zoom call.
I started with some code that Sparkfun had written to build a giant Save Button and modified it a bit.
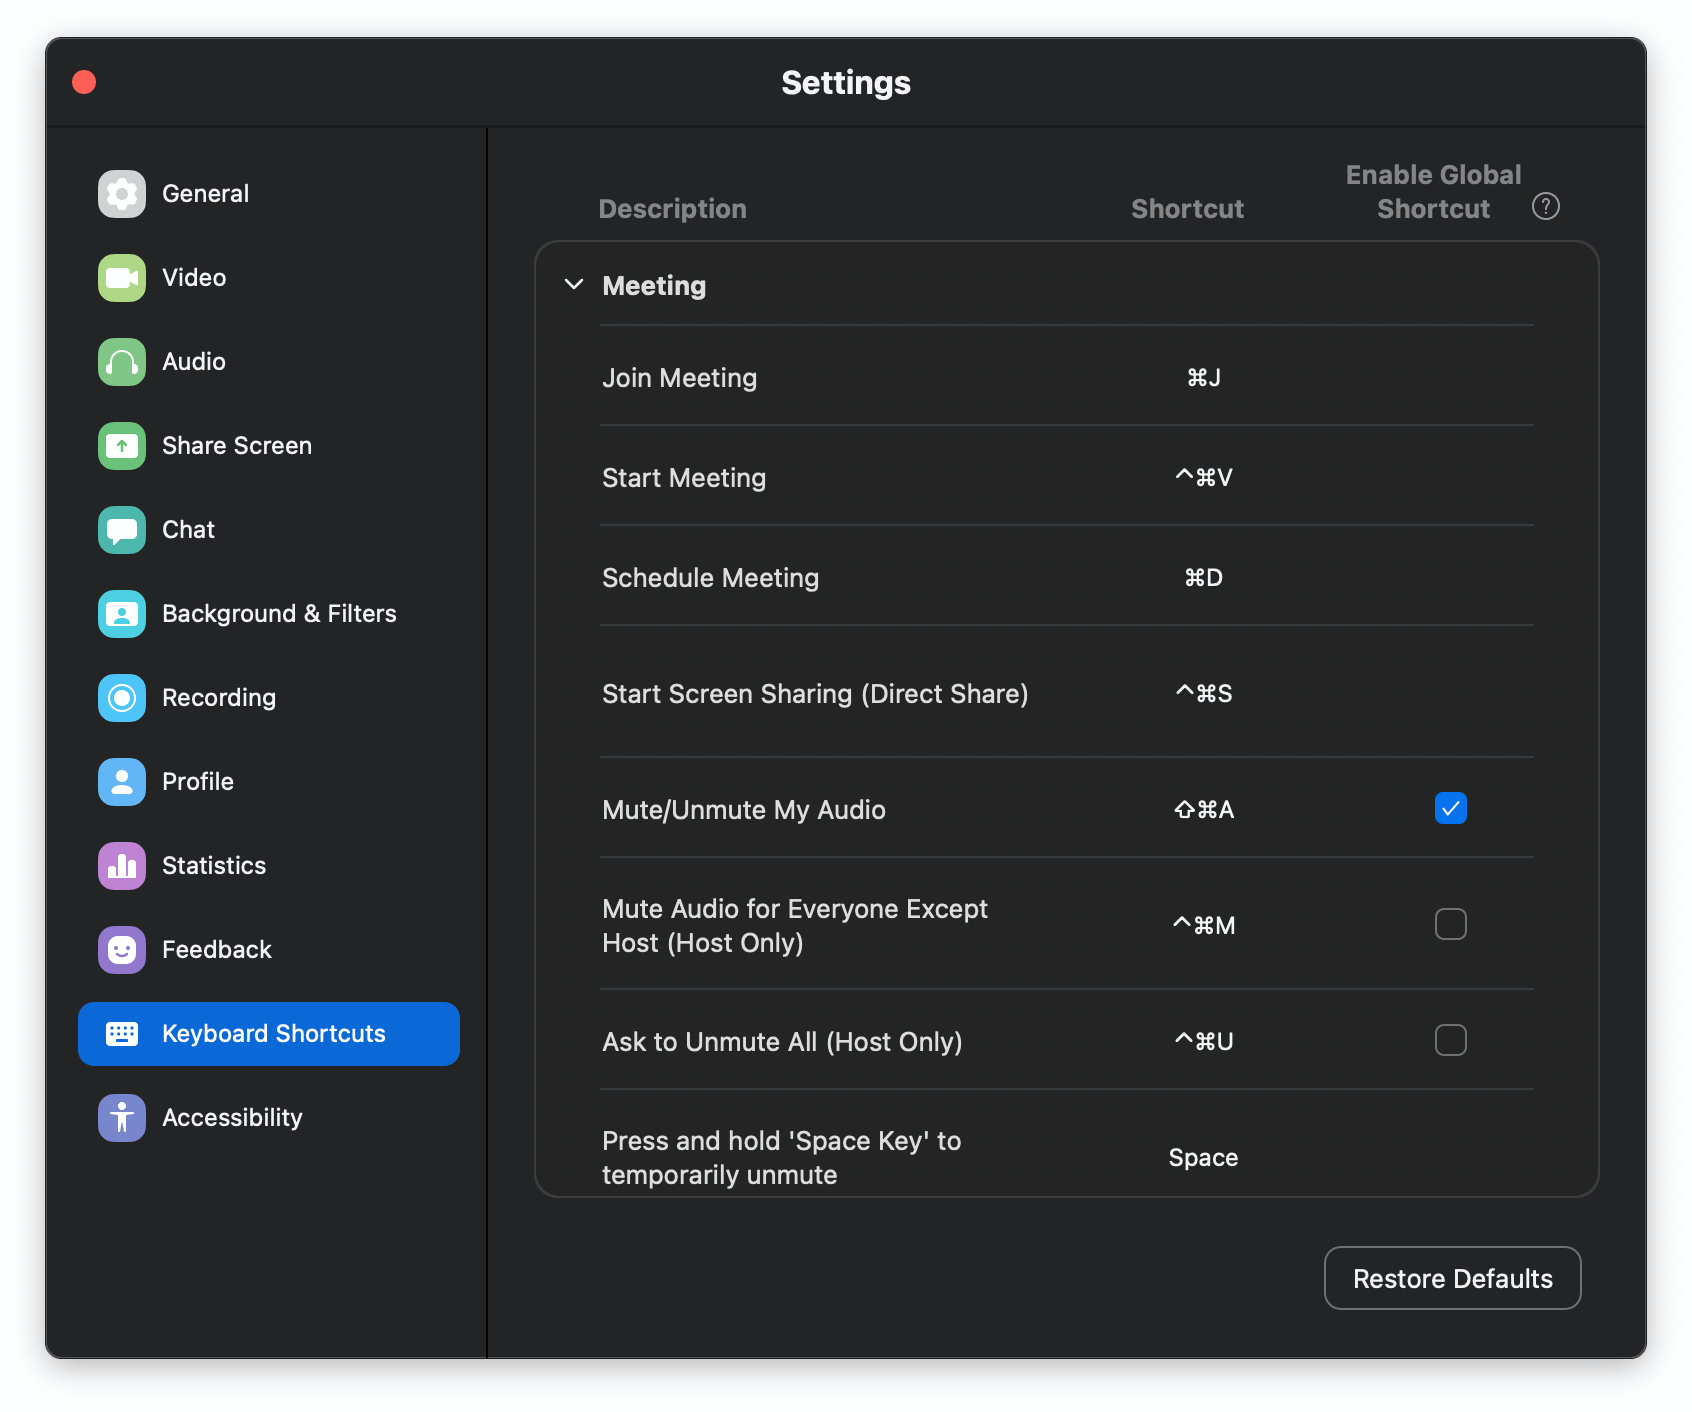
The basic idea behind our mute button is that when you press the key, it will emit the Zoom hotkey for muting and unmuting, which on a Mac is Cmd-Shift-A. You’ll want to change your Zoom settings so this keystroke will be recognized even when Zoom isn’t focused with the Enable Global Shortcut toggle:
We also want to toggle the LED on and off after each key press. I decided to treat the LED being on similar to an “On Air” light - when the blue LED is on, I’m unmuted and people can hear what I say.
But if we just toggle the LED on and off after each key press, how will it stay in sync with the actual mute status on Zoom?
One nice thing about the Pro Micro is that it also has serial communication. This is usually used for printing debugging information in the Arduino IDE, but we can use it to help us stay in sync with Zoom’s mute status.
Here’s the code that we upload to the Pro Micro itself:
#include "Keyboard.h"

// OS parameters
typedef enum {
  LINUX,
  WINDOWS,
  MAC
} os_types;

// Change this to your operating system
const os_types OS = MAC;

// Pins
const int btn_pin = 2;
const int led_pin = 9;

// Constants
const int debounce_delay = 50;              // ms

// Globals
int btn_state = HIGH;
int btn_prev = HIGH;
unsigned long last_debounce_time = 0;
int os_ctrl;
int led_state = LOW;

void setup() {

  Serial.begin(57600); // opens serial port, sets data rate to 57600 bps

  // Set up LED and button pins
  pinMode(btn_pin, INPUT_PULLUP);  // Set the button as an input
  pinMode(led_pin, OUTPUT);
  digitalWrite(led_pin, led_state);

  // Begin keyboard
  Keyboard.begin();

  // Switch to correct control/command key
  switch(OS){
    case LINUX:
    case WINDOWS:
      os_ctrl = KEY_LEFT_CTRL;
      break;
    case MAC:
      os_ctrl = KEY_LEFT_GUI;
      break;
    default:
      os_ctrl = KEY_LEFT_CTRL;
      break;
  }

  // Get initial timestamp

  Serial.println("started");

}

void loop() {

  // Read current state of the button
  int btn_read = digitalRead(btn_pin);

  // Remember when the button changed states
  if ( btn_read != btn_prev ) {
    last_debounce_time = millis();
  }

  // Wait before checking the state of the button again
  if ( millis() > (last_debounce_time + debounce_delay) ) {
    if ( btn_read != btn_state ) {
      btn_state = btn_read;
      if ( btn_state == LOW ) {

        // Send cmd+shift+a
        Keyboard.press(KEY_LEFT_SHIFT);
        Keyboard.press(os_ctrl);
        Keyboard.press('a');
        delay(100);
        Keyboard.releaseAll();

        Serial.println("pressed");

        if (led_state == LOW) {
          led_state = HIGH;
        } else {
          led_state = LOW;
        }
        digitalWrite(led_pin, led_state);

      }
    }
  }

  // Remember the previous button position for next loop()
  btn_prev = btn_read;

  if (Serial.available() > 0) {

    String incomingString = Serial.readStringUntil('\n');

    if (incomingString == "muted") {
      led_state = LOW;
    } else if (incomingString == "unmuted") {
      led_state = HIGH;
    }

    digitalWrite(led_pin, led_state);

  }

}
Next, we can add an Applescript that will report back what the current Zoom status is. I found a Zoom plugin for a Streamdeck device that contained the initial Applescript and modified it to only report back whether Zoom was opened and its mute status. I also changed it to output JSON.
set zoomStatus to "closed"
set muteStatus to "disabled"
tell application "System Events"
	if exists (window 1 of process "zoom.us") then
		set zoomStatus to "open"
		tell application process "zoom.us"
			if exists (menu bar item "Meeting" of menu bar 1) then
				set zoomStatus to "call"
				if exists (menu item "Mute audio" of menu 1 of menu bar item "Meeting" of menu bar 1) then
					set muteStatus to "unmuted"
				else
					set muteStatus to "muted"
				end if
			end if
		end tell
	end if
end tell

copy "{\"mute\":\"" & (muteStatus as text) & "\",\"status\":\"" & (zoomStatus as text) & "\"}" to stdout
Now when we run it while we’re on a Zoom call, we get output like this:
$ osascript get-zoom-status.scpt
{"mute":"muted","status":"call"}
Finally, I wrote a small node app that acts as a middleman between the Pro Micro and this script:
const { exec } = require('child_process');

const SerialPort = require('serialport');
const Readline = require('@serialport/parser-readline');
const port = new SerialPort('/dev/tty.usbmodemHIDPC1', {
    baudRate: 57600
});

var checkStatus = function() {
    console.log('Checking status...');
    exec('osascript get-zoom-status.scpt', (error, stdout, stderr) => {

        if (error) {
            console.error(`exec error: ${error}`);
            return;
        }

        var status = JSON.parse(stdout);
        if (status.mute == 'unmuted') {
            port.write('unmuted');
        } else {
            port.write('muted');
        }

    });
}

const parser = port.pipe(new Readline({ delimiter: '\r\n' }))
parser.on('data', function (data) {
    if (data == "pressed") {
        console.log('Button pressed.');
        checkStatus();
    }
})

checkStatus();
setInterval(checkStatus, 30000);
This script does two things. When the button is pressed, the Pro Micro sends a “pressed” command over the serial port and this calls the Applescript to determine the current Zoom mute status. Then it sends either a “muted” or “unmuted” command back to the Pro Micro, which triggers the corresponding LED state. There’s also a timer that runs this every 30 seconds in case I accidentally mute or unmute using the Zoom UI instead of the key - otherwise it would only resolve state when the key is pressed.
This is what the button looks like when used on a Zoom call:
Please back my Kickstarter - just kidding, there is no Kickstarter, but hopefully now you can build one yourself.